Showing posts with label professional development. Show all posts

Monday, 5 February 2024

TOD 2024...

We began our 2024 learning journey this year with a staff challenge to meet at the top of Mt Wellington / Maungarei. The reason, to help all our staff (old and new) to strengthen their connections to the whenua our kura stands on, and set them up for success as we step into our first Inquiry focus of the year, 'Our Whenua'.


Back at school we revisited the Learn-Create-Share model which was unpacked and applied to rich discussions as to how we could apply the learning across the curriculum to our pending whole school visit to Maungarei.


Following on from this I lead a PLD session to show how we could find the story behind our local area through a close look at the street names. This was adapted from a previous challenge set by Richard Johnston in 2022, and the learning from a toolkit run by Scott Mansell from Tamaki College. What I appreciated from this was the buy in from the staff and suggestions of ways we could adapt was was originally planned as a Year 7/8 lesson to every year group. We definitely do learn best when we learn from each other!

Monday, 21 August 2023

Listening to my Learners...

Collecting student voice is one of the most powerful forms of feedback. As the strategy of word gifting was new for us I wanted to see if my thoughts aligned with the thoughts of my learners. To capture this I shared a Google form with the students in my reading groups. The slides reflect the responses.

The questions I asked were:

  • What did you like about the vocabulary gifting in Reading?
  • What might you do differently to get to know the new words in Reading?
  • How did this help you in the Representation topic?


Wednesday, 1 March 2023

PLD: Supporting students to become confident and competent spellers - Louise Dempsey

To grow our own knowledge and strengthen our connections to teaching phonics, morphology and spelling conventions Dianne and I signed up to the PLD: Supporting students to become confident and competent spellers run by Louise Dempsey.


Aims of the two workshops:

  • Develop subject knowledge about phonics, morphology and spelling conventions

  • Unpack the progression of skills (phonics, spelling conventions, and morphology)

  • Learn high-impact strategies and activities to teach word and sub-word level skills


My takeaways:
  • Spelling is an obstacle that gets in the way of reading and writing. However it is a learnt skill that can be taught and is an integral skill to make meaning. If learners can spell, they can read and write.
  • Children need a decent bank of words to allow them to pick up and use a wider vocabulary
  • Confidence comes when children can hear identified sounds
  • Encourage self correction
  • Phonics and spelling patterns are crucial for our students when writing
  • Fluent writers need to be aware of spelling conventions, morphology/affixes and word origins
  • Decode in reading and encode in writing by applying rules
  • Spelling skills are learnt progressively - the list below was unpacked with valuable examples that are recorded in my notes
    • Phonics: letters and sounds
    • Analogy: rime eg: cat/sat/mat
    • Try: say - listen- write -try and underline to show unsure = taking risks
    • Analogy and affixes help strengthen vocabulary eg: look/looks/looked/ looking
    • Spelling conventions: rules
    • Morphology: know affixes and how to add them to base words
    • Word origins eg: bio = life + ology = study of so biology = study of life
After attending these sessions Dianne and I decided we need to co-construct with our learners a 'working' wall display that we build alongside our learning of morphology, spelling conventions, phonics at our level. This not only makes it visible, but also makes it rewindable.

Resources to support development of word consciousness:

  • Spelling bank - Link
  • The Literacy Place books - Link


Saturday, 25 April 2020

Cybersmart Observation...

Edit: This observation took place in February 2020

Over the summer period my class took part in the Summer Learning Journey. As a school we did extremely well as far as participation and output, but dropped the ball as far as commenting was concerned. Our students actively commented on the blogs of other participants but did not comment in a way that created a thread of comments. I didn't know how to strengthen this understanding so I asked Heather Collins, one of our Manaiakalani facilitators to model a Cybersmart lesson for me. We have access to a wealth of Cybersmart resources but as someone who has been a part of Manaiakalani from the beginning I have not had the opportunity to observe one of these lessons first hand. 

Here are the notes I took:
  • Begin by stating the purpose of the lesson (- this linked to the reasons I have mentioned above)
  • State the Learning Intention - LI: To create a thread of comments
  • Display the 'Quality Blog Comments Poster' and unpack
  • Ask students to generate sentence starters for 'compliments'
  • Model how to write a quality blog comment using a student blog post (promotes a connection)
  • Explain that a question has been asked so now needs a reply.
  • Ask: How might you reply to this comment?
  • Co-construct a reply

Where to next:
  • Actively plan time for students to comment on blogs and respond to comments on their own blogs.
  • Revisit the Manaiakalani cybersmart lessons to access the resources available. The shared language of instruction will help my learners to continue to build on and strengthen the knowledge they have, and will scaffold and support my students new to Manaiakalani this year.
  • Make a display that reflects our unpacking and understanding of how to write a quality blog comment - make it visible - keep it visible.

Thursday, 6 February 2020

Maths PD 2020 #1

We began our school year with a Maths professional development session run by Marie Hirst. It was a great way to begin our 2020 journey as we heard a shared message that helped us unpack what an effective balanced maths programme looked like.

My big takeaways from the day, apart from some awesome ideas to use in my programme were:
  • Mathematical communication is using the language in context deepens understanding so need to provide opportunities for this to happen
  • Arranging for learning
  • Students learn best when they are mixed with students of different abilities
  • Mixed ability problem solving + needs based ability workshops
  • Needs based groups mean groups are not labelled
  • Flexible grouping allows the focus to be on the learning goal that meets the needs of the students who need the information
  • Have 'teams' not 'groups' for collaborative challenges
  • Unpack 'team' roles one at a time to strengthen connections to what is expected of that role
  • Teacher content knowledge is critical
  • Equipment allows for visual connections but we need to be able to use this effectively
                                    
Jo Boaler

  • Fixed mindset happens with ability grouping when students develop fixed ideas about their learning potential and affects ability to learn.
  • Loose confidence.
John Hattie
  • Tracking progress sets expectations to students that this is where you perform.
  • Teachers tend to teach to that level which locks out components of the curriculum.
Christine Rubie-Davis
  • When students have more advanced opportunities to learn they make more progress than they expected they could.

Wednesday, 9 October 2019

Engaging Shakespeare for Y1-8 PD...

Today Kiri and I attended the Engaging Shakespeare for Y1-8 PD at the Pop Up Globe theatre. The course was run by Rita Stone who took us through a variety of ways we can introduce Shakespeare to a younger audience.


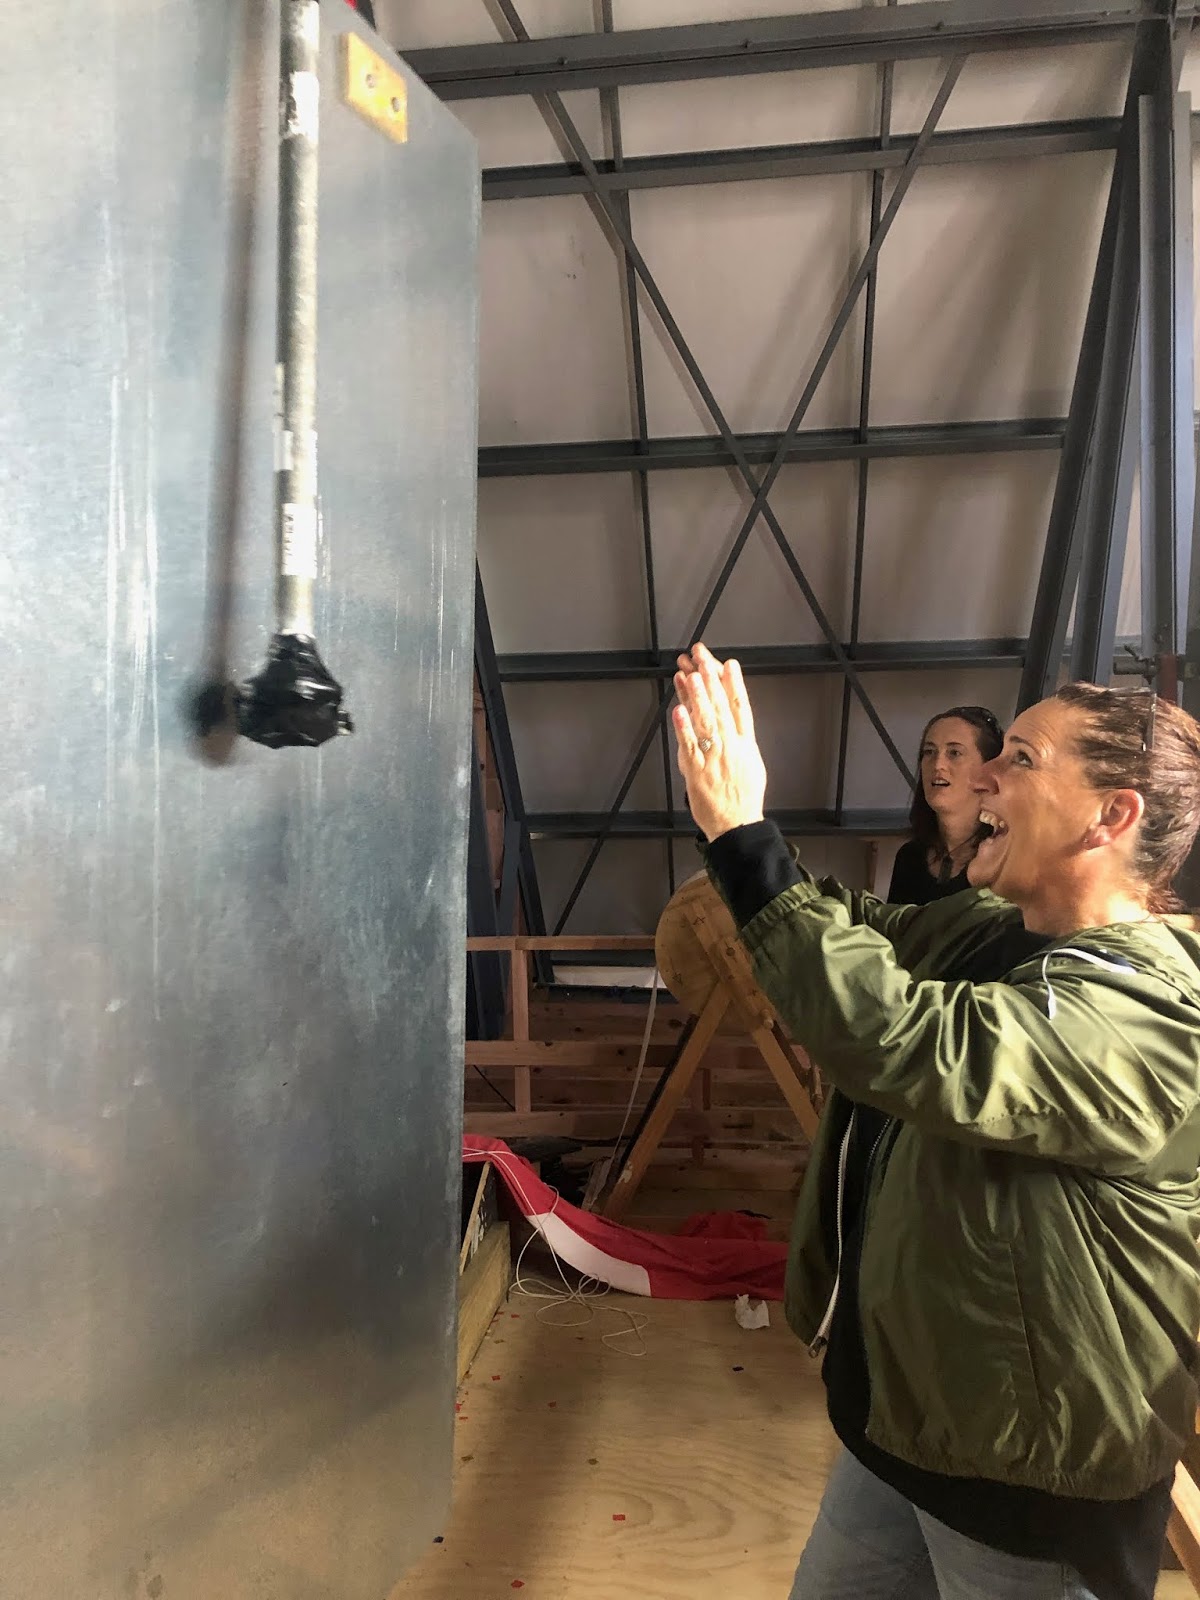
We began with a behind the scenes tour of the theatre which was really interesting. We walked through the 'rat run' and made our way to the stage. This was a perfect opportunity for us to learn about the 4th wall, a theatrical term for the imaginary “wall” that exists between actors on stage and the audience. From there we moved up the stairs to the 'Romeo and Juliet' balcony, and yes we all tried to find Romeo! We then climbed another set of stairs to find out how the sound effects are created. This was a lot of fun as this was very much a hands on experience.

                                      
                                   Thunder                                    Rain                                              Wind      

After exploring the space we would be working in the practical sessions began. Using the characters from A Midsummer Night's Dream we learnt how to move and speak in ways they would have. The challenge was to not only stay in character, incorporate dialogue and use gestures, but also to remember to make use of the whole stage. Easier said than done when you are completely out of your comfort zone! This activity taught us about freeze frames and travelling. We then moved onto an activity called 'Silent Movies'. This required us to choose five words from a scene, create a frozen image for each word, select a move genre and add music. Once these performances had been shared they were all put together using the entire section of the scene. 

After lunch we were introduced to Romeo and Juliet, through my favourite activity of the day. Our challenge was to write a five sentence story that tells the story of two families who loathe each other and the two children who fall in love. This was a fantastic activity to practise summarising and could be used across all curriculum areas. After sharing our stories we were challenged to turn each of our five sentences into ten syllable sentences. I loved this! I noticed that I was collaborating and negotiating as my partner and I trialed, tested, adapted and changed our sentence structure and vocabulary choices


                                                5 sentences                             10 syllable sentences

We were then introduced to the 'Shaboom' rhythm. This helped us to understand how Shakespeare used iambs, trochees, spondees and pyrrich feet to show the actors which syllables to emphasise when delivering their dialogues. Using the symbols / - helped us make sense of this before we moved onto reading a sonnet and unpacking the rhyming structure within it.

We then explored the tactics of demanding, pleading and rejecting in pairs using only the words 'yes' and 'no' as our dialogue. Again we were challenged to stay in character, incorporate dialogue, use gestures and make use of the whole stage. This was a great introduction to our final performance of reading and acting out a scene from Romeo and Juliet on stage at the Pop Up Globe!

Friday, 7 June 2019

Digital Fluency Intensive... Day # 2


The infographic above reflects the takeaways from todays session that I have taken from our session today. The shortcuts for calendar are a great way to flip between views (weekly, daily, monthly). Google Keep has so many amazing features! I used this tool often for note taking and thought I was making use of all the features available. I now realise I was not! To be able to upload an image with text and then have the ability to grab the text is something I will definitely use in the classroom as there are so many possibilities to this feature. Angela Moala shared an idea with me of using Google Keep when I am commenting on my student's work. So often we find we are writing the same feedback so being able to have this bank of often used comments that can be copied and pasted is something I will access often.

I found the workflow session linked to organising our gmail and tabs incredibly valuable. I no longer have an overflow of comments sitting in my inbox. These are now all archived or sitting under the appropriate labels with filters in place.

We had an introduction to Google Hangouts and explored possibilities of how we can use this tool outside of what we already do with toolkits. Here is the screen recording of my hangout session with Angela and Sarah. Thank you Sarah for capturing this.

Here is the link to my notes from our learning today.

Friday, 31 May 2019

Digital Fluency Intensive... Day # 1


Learn, create share is the pedagogy we follow as part of the Manaiakalani cluster so it is important that as teachers we not only model this process, but also remember to give our learners time to share their work.


The infographic (our skills challenge to make using only a google doc) above reflects the takeaways from todays session that I will be taking back and ensuring my learners are able to use. In addition to this I will be using these words when we open new documents in G Suite. "Locate your folder - open a new doc/presentation etc - write your name followed by the learning title." Starting a new doc in folder helps to ensure all work is shared with the teacher. If Chrome and Drive are to be effective they need to be set up well.
  • Comments tool/Assign to: A great tool for encouraging student led reading comprehension by assigning questions and responding to assigned questions.
  • Voice Typing: A great tool to help learners of all ability levels. 
  • Scavenger Hunt: A fun way to practise skills.
  • Explore Tool: Enables web, image and drive access within Google docs.
  • Table of Contents: Provides visual links to headings and subtitles in a doc.
  • Overview: Save page 'real estate' by adding links to headings and subtitles on the side of the doc.
  • Shortcuts: Time savers... command + shift + B (opens bookmarks bar), command + shift + T (opens a new tab), command + Z (adds a doc to your Drive without making a copy), command + shift + v (pastes without formatting). Command for Mac/Control for Chromebooks

My teacher takeaway from today is the zoom feature. Being able to enlarge the words or images I want my learners to focus on while I'm talking to them will be so much more effective than asking them to focus on the cursor. The pathway to unlock this feature is:

System preferences - Accessibility - Zoom (my settings look like this...)


DFI Cohort 2 2019
Update:

Today (4/6/19) I challenged my students to create their DLOs using only Google Docs. I noticed that my instructions were a lot more detailed and specific following my day at DFI. It was interesting that this challenge was met with 'Why can't we just use Google Draw?'.... I explained that I wanted to introduce them to the explore tool so we set about creating our DLOs following the same set of challenges that we had at our DFI session. This was a huge success with one group choosing to use the draw tool to create their images, and several powerful conversations taking place as to which definition best suited the purpose of the task. What I noticed most about my instruction was that it was explicit and I was able to problem solve quickly which meant that momentum was not lost. 

The image below was my instructional exemplar that was created so that I could model how to use the explore tool. 


Here are a few examples of our completed DLOs:


Our next challenge was to use the voice to text tool to write our information reports. I set this as the challenge component of our collaborative writing task and judging by the feedback was very well received due to the novelty factor, as well as how it helped my learners notice where punctation was needed. Mele and Marieta's example below reflects what we did in this lesson. Click here for the link to Mele's blog post. 

I also used this tool with my phonics group so they could dictate their sentences, taking away the hard part and allowing them to show their real understanding of the learning.

Tuesday, 28 May 2019

Unpacking Tapasa #1

Last night our staff worked with Jeremiah Tauti to unpack the aims of the Tapasa Cultural Competencies Framework. Unpacking a document together means we gain a shared understanding as we implement the best practise suggestions. Enhancing teacher perspectives so that students of all cultures feel recognised and valued in their learning environment will help us to avoid the cultural dissonance many Pasifika students may have experienced, regardless of where they are in their learning journey. Strengthening connections with families through Talanoa will help us to be culturally responsive practitioners.


Our homework is to reflect on our own understandings of the following questions

1. How does your classroom reflect your student body?
2. How do you involve family?
3. How do you create space for difficult conversations about current events and culture?
4 . How do you help students develop a positive cultural identity?
5. Where are the gaps in my knowledge and practise in terms of cultural responsiveness?


Sunday, 1 July 2018

ISTE 2018 - Expo Hall

The Expo Hall at ISTE is huge! There was a wide variety of stands where delegates could explore the new technologies available. Alongside these hands on opportunities was the option of joining in a learning session. 

the 


I really enjoyed learning about the new direction Lucid Charts is going in. There are now lesson plans and chart templates ready for use in the classroom. One idea I am planning to implement is their idea for narrative writing where learners use the charts to choose their own outcome by creating a pick a path story. This is shown in the images below and I am hoping will be seen as a 'fun' way to continue to grow the efficacy of my target students.


ISTE 2018 - Keynote 3


This was the closing keynote of the conference. Richard Culatta gave us some great reminders about the importance of digital citizenship. Logan Smalley, Founding Director of TED-ED shared the new direction TED-ED is going in and gave us all the opportunity to sign up to be part of the trial for the new app TED- ED will be launching that takes teachers through modules that will guide them towards giving their own TED-ED talk. 

Christine Klynen
TED Talk


Run toward the learning - curious - fearless superhero when facing new learning ops... meant kids wanted to be a tchr - love of learning for kids who are inspired to be focused - high school often happens to us as learning is not sparking curiosity. A teacher changed my life... life long learners are fearless in own learning - engaged and connected
Nadia Lopez
Bridge to Brilliance creating possibilities author


Look at life thru diff lens
Children are naturally inquisitive and adventurous
t Spoke a language I cld appreciate and showed me possibilities using content specific language
Challenge the status quo - encourage exploration
T need to change the narrative to create the possibilities
If u create the space and allow the chn to be exposed to the learning they will rise to meet the t expectations

ISTE 2018 - Elevate Thinking, Writing and Creativity With Technology Resources

Presenters: Julie Jaeger
http://sites.google.com/site/jjaegerconsults/home/elevate-thinking-and-creativity-technology-resources


This was a creative writing session and with my COL inquiry focus this year, right up my alley. Below are the notes of my main takeaways from this session but the website link above details these in more detail.


Ian Byrd - use 2 topics and create analogies between the two - ref to pic 1
How expensive is it to fill your car with gas v other things eg: milk’ juice, coke... which is more expensive? Choose car model and insert image - link to measurement - research - smart searching - convert to same measurement using conversion apps

How long would it take to drink your swimming pool? Link to 8 glasses a day
XKCD.com - submit a ridiculous qu and the site accepts the challenge
Use ‘What if...’ Randall Monroe - deep thinking problems posed in text

Pechaflickr - 20 secs per slide tells your photo story - chains of conversation - each persons explanation of pic must carry on from last - not planned and creative - the fun is that the kids don’t know what’s coming - T pre finds the pics but kids don’t know this - after 1 pic per paragraph = instant created narrative
Type in a word eg: clown choose number of slides ... 2 people tell story in context linked to pics. Pechakucha is the research presentation where content must be known and timed

ISTE 2018 - Learn to create some pretty sweet graphics

Presenter: Manuel Harrera


This was another session that Kiri and I attended together. The most valuable part of choosing to do sessions together was the follow up conversations we had immediately after relating to how we can use the learning with our own students. We have many students this year who are highly skilled graphic artists and I am very much looking forward to sharing my learning from this session with them. Below are my notes.


  • Creativity is a process - not just choosing the go to app (ref to slide 2)
  • Sketch to visualise thinking - communicate without speaking to each other
  • Adobe capture in iPad saves your data
  • Canvas slide - saves colour pallet - has image sizes
  • Insert word art allows for automatic resize of text
  • Google search font pairings
  • Vector art can be scaled from any size - doesn’t blur or pixelate
  • Use Instagram template to create bio for historical leader etc
  • Use polyline in google draw to create shape for vector art
  • Remove outline - colour fill - send to back
  • Repeat process for each shape - layer
  • Innovation Exchange 
  • Change canvas using pixel measurements
  • Add graphics
  • File - download png
  • If wanting sticker cld send design to sticker mule
  • App design storyboard 
  • All drawings are done in slides too
  • Gif animation - draw peanut jar - find png arms on image search - upload each movement snapshot to google photos - assistant in google photos creates animation gif
  • Sound = shrink YouTube clip down to smallest size to hide but can hear

ISTE 2018 - Arts and Technology PLN Breakfast Walk

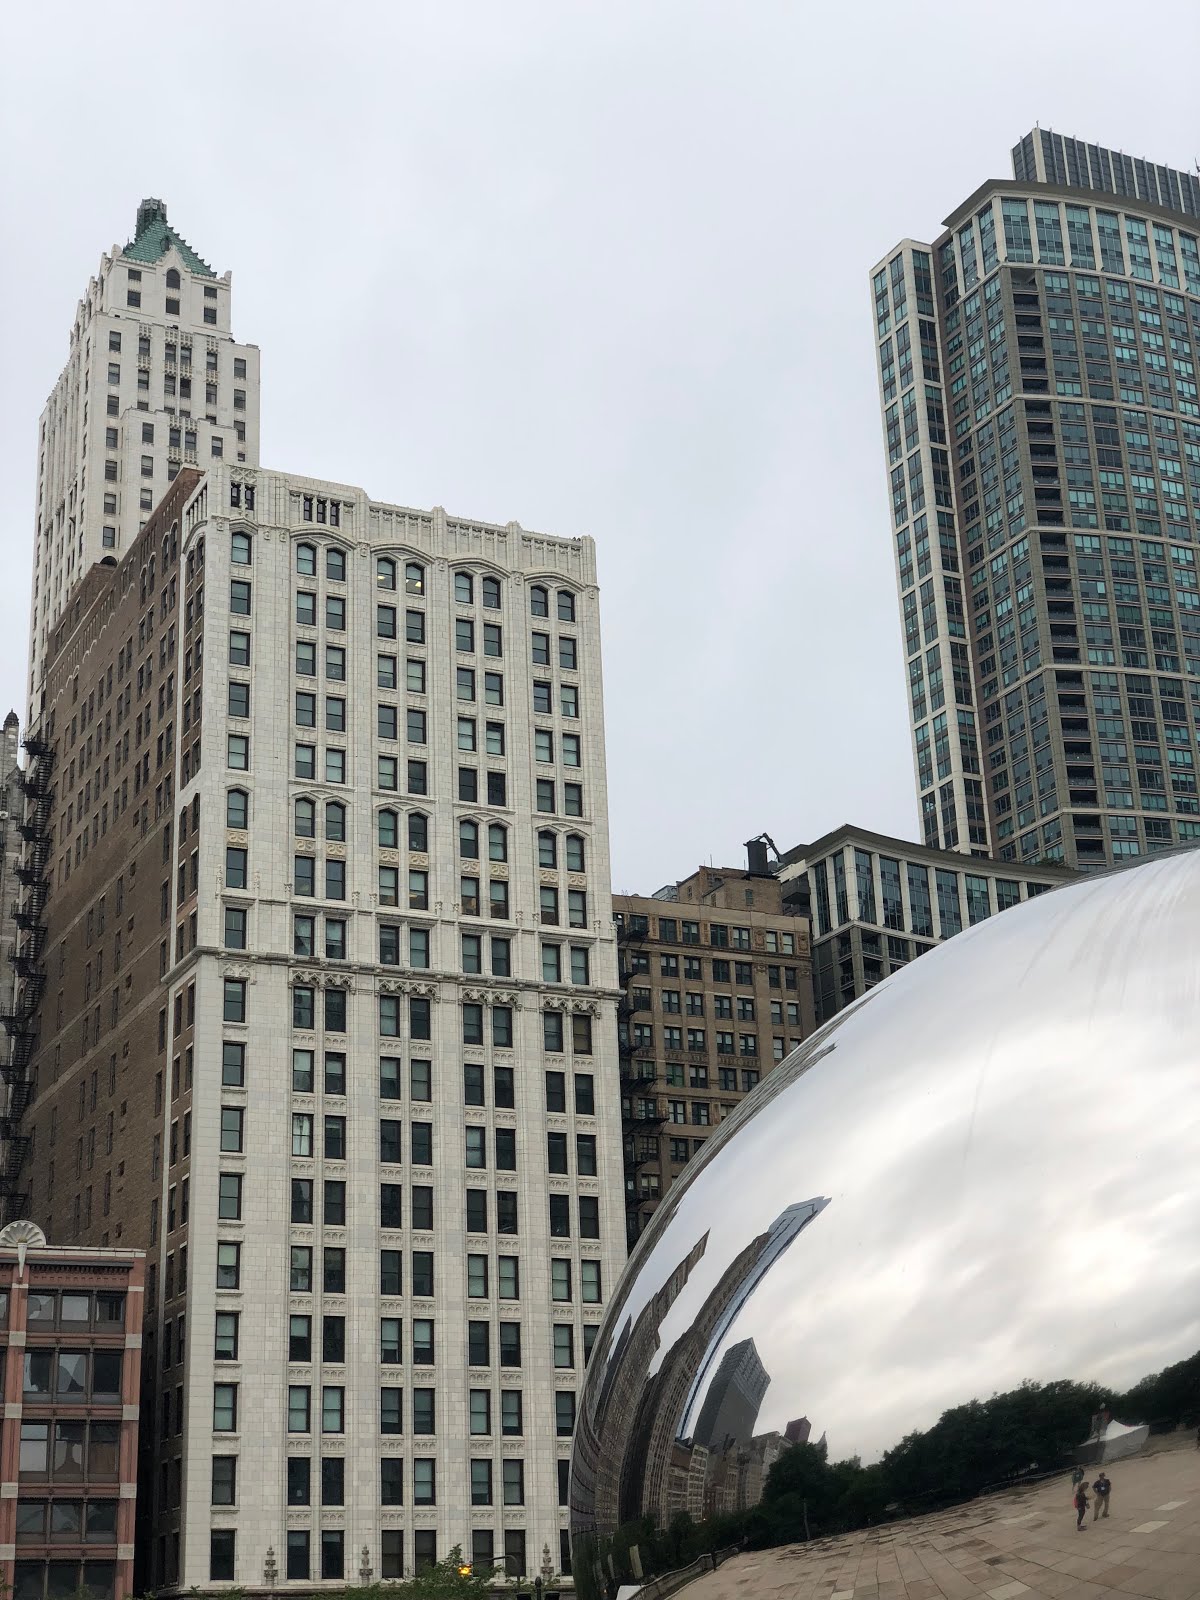
This was one of my favourite sessions and completely worth getting up at 5am for. Kiri and I met the rest of the group at Cloud Gate, otherwise known as 'The Bean'. The purpose of this session was to connect with other educators, learn a few photography tricks and we explore some of the iconic sites around Millennium Park. Below are some of the images I took during this session.


Group photo 


Photo taken by Kiri


My takeaways:
  • Use the panoramic setting to capture tall buildings - remember to scroll slowly until you get a square on the screen
  • App snapseed - use the 'drama' setting
  • Turn phone sideways so volume buttons are on top righthand side to use these as the camera shutter button
  • Tap the screen to focus on one area
  • Remember rule of thirds and use gridlines


ISTE 2018 - Visualise. Connect. Doodle. Repeat... Sketch noting to enhance learning with EE

Presenters: Baughcum and Dana Ladenburger

Visual note taking (also known as sketchnoting) is a note-taking strategy that connects visuals with words to help improve our ability to synthesize, retain, attend to comprehend and recall information while strengthening our metacognition. While current research is changing how educators view doodling, visual note taking and how they can be used in the classroom, it does shows us the use of graphic/ visual notes can improve retention, learning and so much more. Best practices within visual note-taking are evolving rapidly. This interactive session will have educators doodling to learn, taking their thinking visual and making notes digital. Participants will learn the parts of sketchnoting and the variety of ways each parts unique strengths can enhance the learning of all students, while also experiencing a variety of different ways you can use sketchnoting’s components combined with Explain Everything’s elements to make visual note taking and learning reflective, visual, shareable, collaborative and interactive.


Kiri and I attended this session together so that we could use the tools we have available in our learning space to help our learners create a sketchnote to help them summarise new ideas and make notes when researching. This was a fantastic hands on session and one we have already volunteered to take a toolkit on in term 3.

Sketchnote a journey through time or make notes to help students improve and recall
main ideas.
Typography - font used to identify main ideas or important places, dates, people
Icons -
T can create an icon library that stdnts can become confident using - when confident cld be collaboratively created by stdnts
New idea = new slide
Connectors - Arrows - lines - dashes = connect info and solidify relationships and u/st
Containers - Hold info - thought bubbles, speech bubble, shapes = organise similar ideas and thoughts linked to topic - quotes, contributions, ideas
Container library so that each shape holds specific info and can be transferred across subjects
Structure and colour - Way you format page - idea in one position and containers, fonts etc show progression - linear v abstract using colour coding and anchoring

Input a google doc and/or image so students can sketchnote over and in context
How to bring all together using EE - New slide - title sketchnoting - group using i icon - copy - paste on main note - export to drive and post


Kiri's example of using EE to create a sketchnote

ISTE 2018 - Keynote 2

Andy Weir
Science fiction author: The Martian and Artemis

Creativity in science can be explored in literacy - STEM Read
Boredom leads to disruption - problem solving by finding the how to can provide the level of challenge and the process of learning - research + find solutions - driven by curiosity to find many possibilties
Failure based learning is flipped to embrace failure by finding the solutions
In writing need to know how to structure and write in the genre - eg problem + solution cycle in writing helps hook the audience in
Create Ebook to grow global audience - can put on on AMAZON


Katie Martin

Build T pd from stdnt interest to evoke curiosity rather than just complying - transform learning thru design and creativity as this hooks the T in to and the passion is shared. Empower ones to embrace their passions not just what they are told to learn - know your learner. Digital citizenship prepares students for now not for tomorrow - the Internet is their now!


Luis Perez: TED X


Visual impairment means he lives between the sighted and non sighted world - mixed culture - Spanish in an English world
all values need to be incorporated into education so stdnts don’t have to live between worlds
Alex - synthesised voice (assistive technology) gave hope as the barriers were removed - seeing positivity (eg Luis choosing to learn photography despite visual impairment) ‘ The photos are for the viewer the event of photography is for me’ - photography makes me visible and helps others address their preconceived thoughts and ideas
Technology makes things possible - eg Ebook text can be enlarged etc and/or read to you - allows everyone to access the learning - humanity allows for those with different backgrounds can be empowered to be the best you can be
T should be the start - light the path and given he stdnts the tools they need to turn the lights in in their own paths